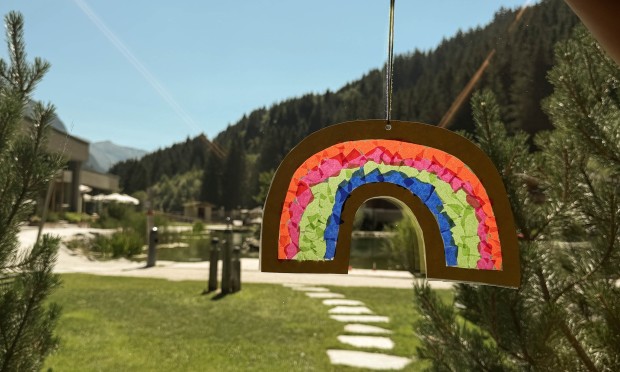

You will need:
· colored cardstock
· pencil
· scissors
· transparent self-adhesive film, such as book-cover film
· tissue or crepe paper in different colors
· hole punch
· string or thin ribbon

South Tyrol
A modern place of power for families, surrounded by majestic mountains. On daily schedule:plenty of fun, games and free development!

South Tyrol
A small and very fine world of flavours at the Feuerstein Nature Family Resort where you can truly experience the love of cooking and creating.

Kitzbühel
Dolce Vita in the Alps: The LaMonte Bistro in Kitzbühel delights with culinary compositions combined with an Alpine-Mediterranean lifestyle.

Kitzbühel
Aesthetics and fine living right next to the Hahnenkamm cable car: enjoy a luxurious holiday in our tasteful and sophisticated apartments.

South Tyrol
High-quality holiday apartments with wellness area, pool and breakfast service directly at the ski and hiking area Ladurns – perfect for nature lovers.
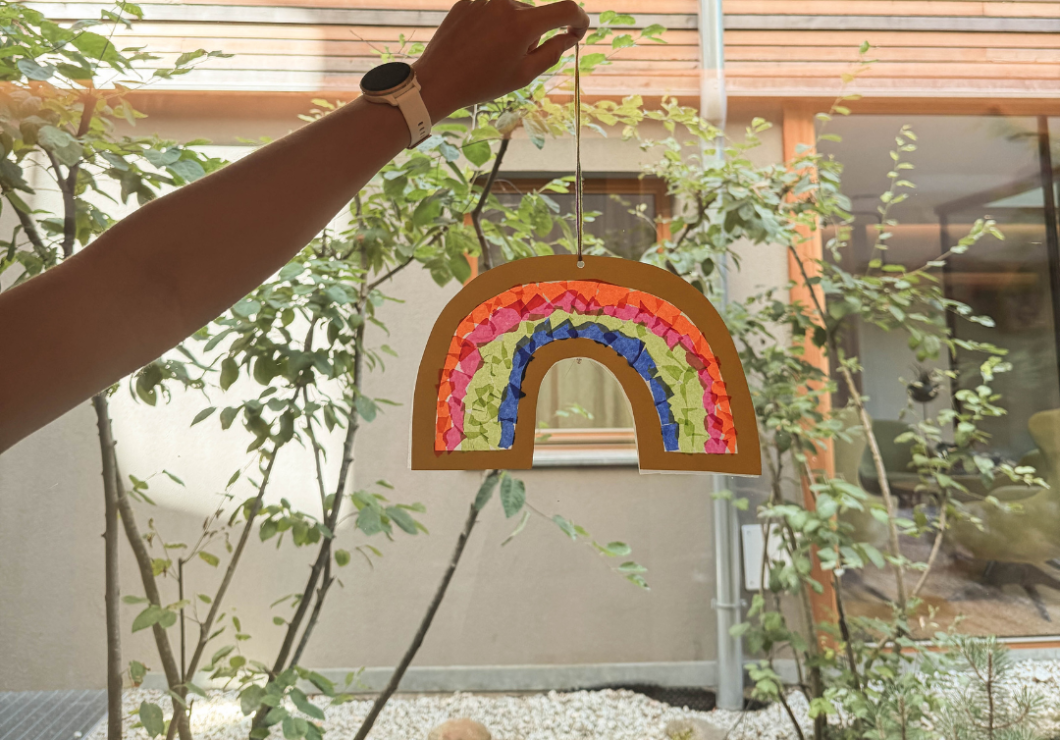
Using colorful tissue paper and self-adhesive film, you can create a bright rainbow that makes a wonderful window decoration. When the light shines through, the individual colors glow beautifully.
Make a colorful rainbow window decoration
You will need:
· colored cardstock
· pencil
· scissors
· transparent self-adhesive film, such as book-cover film
· tissue or crepe paper in different colors
· hole punch
· string or thin ribbon
Step-by-step instructions
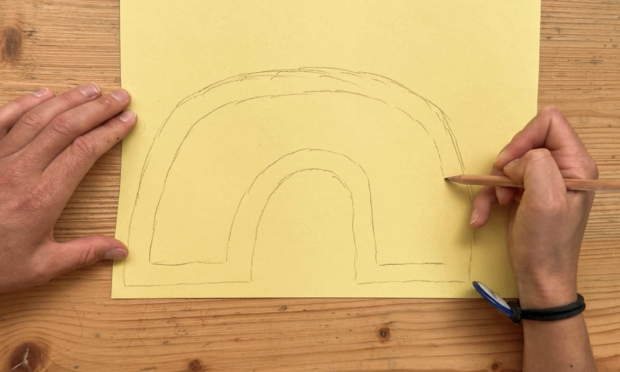
1. Draw the rainbow
First, draw a large rainbow on the colored cardstock. Then draw a smaller arch in the middle to create a wide rainbow frame.
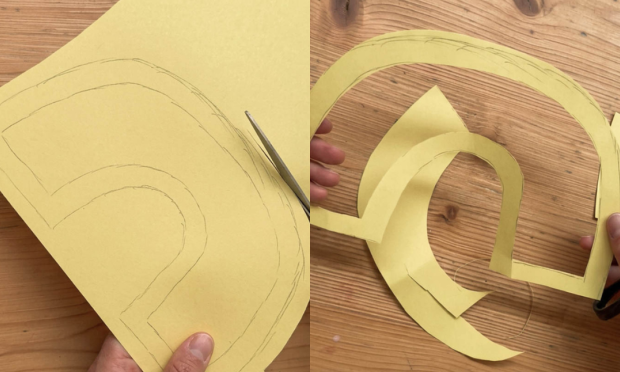
2. Cut out the rainbow
First, cut out the outer outline of the rainbow. Then carefully cut out the inner section. You should be left with a wide rainbow frame.
3. Transfer the shape onto the adhesive film
Place the cut-out rainbow on the backing side of the self-adhesive film. Use a pencil to trace both the outer and inner outlines onto the film's backing paper.
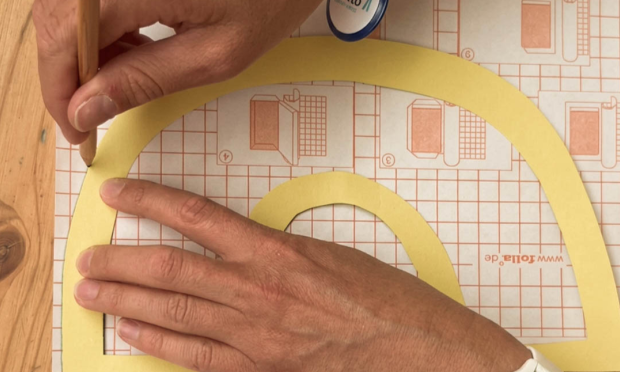
4. Cut out the adhesive film
Cut the traced rainbow shape out of the film. Cut out the inner section as well so that the film fits the rainbow frame exactly.
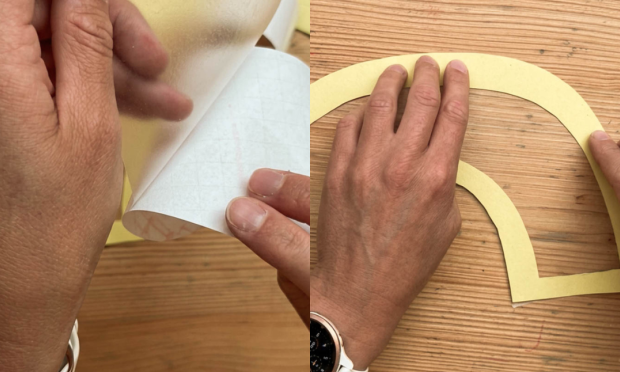
5. Attach the film
Carefully peel the backing paper off the film. Then stick the transparent film onto one side of the yellow rainbow frame and smooth it down carefully.
Make sure that no creases form and that the adhesive surface is firmly attached to the cardstock.
6. Prepare the colored paper
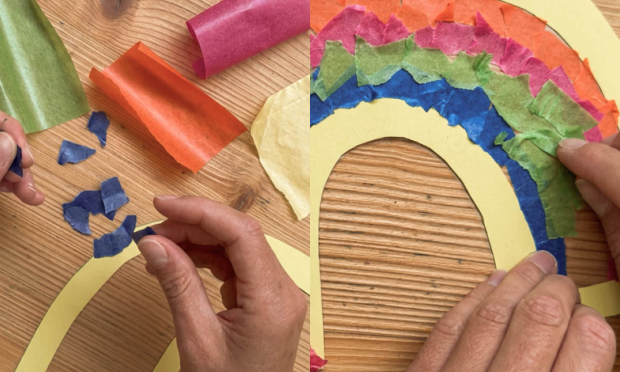
Tear the tissue or crepe paper into lots of small pieces. The pieces can be different sizes and irregular shapes.
7. Decorate the rainbow
Press the colorful paper pieces onto the exposed adhesive surface. Start at the inner edge and work outward, one color at a time.
Place the paper pieces so that they overlap slightly, leaving as few gaps as possible. Follow the color sections you have drawn.
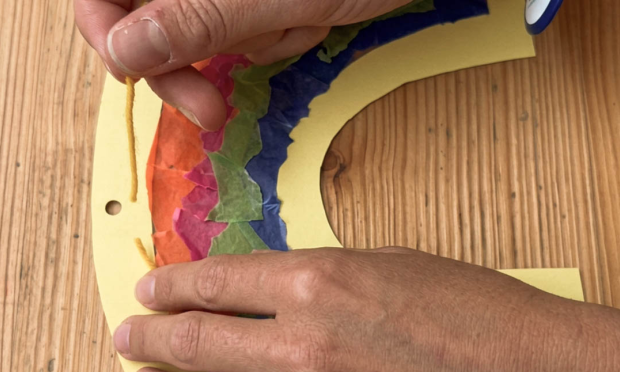
8. Attach the hanger
Use a hole punch to make a hole in the cardstock near the top of the rainbow. Thread a piece of string or thin ribbon through it and tie the ends together to form a loop.
9. Hang up the rainbow
Your window decoration is now finished. Hang the rainbow in a window or another bright place. As soon as the light shines through the colorful paper, the colors will begin to glow.
Tip: The smaller the paper pieces are and the more closely they are placed, the more even and colorful the result will be.
Note: Depending on their age, children should be assisted by an adult when cutting and using the hole punch.